This is a short guide how to get started using the RTCU IEX.
The following steps assumes that the RTCU IDE with IEX support is already installed:
1.Download the RTCU IEX installer.
2.Run the installer and wait completion.
3.After the installation a new toolbar is added to the RTCU IDE (may require a restart):
![]()
4.With the toolbar buttons it is possible to: Launch, Close and Connect to the RTCU IEX.
5.Download a suitable firmware with IEX support from www.logicio.com.
6.Transfer the firmware to a connected RTCU device and await installation.
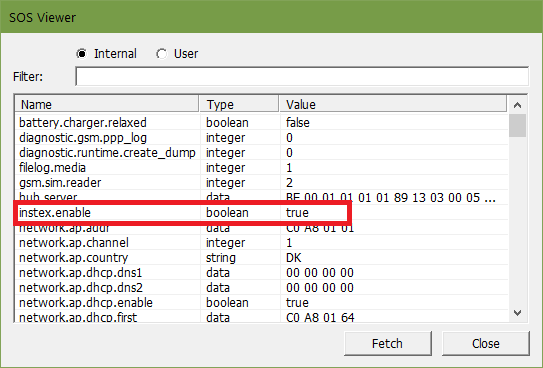
7.Enable IEX in the device. Go to [Device]-[Data]-[SOS Viewer] and locate the "instex.enable" variable. Set it to TRUE:

8.Restart the device.
9.In the project settings:
a."Architecture" must be set to NX32L.
b."Debug" must be enabled.
c."Insight!" must be enabled.
10.Build and transfer the project to the device.
11.Press the toolbar Launch button and await the the RTCU IEX to start with the status "Waiting for device".
12.Press the toolbar Connect button and wait until the RTCU IEX reports "Connected" and the control panel unfolds.
13.The RTCU IEX is now ready for action!
14.Please consult the RTCU IEX documentation for further details and usage.