We begin this tutorial by starting up the RTCU IDE program. Find the shortcut for RTCU IDE in the Start menu and run the RTCU IDE program. You should see something that looks like this:
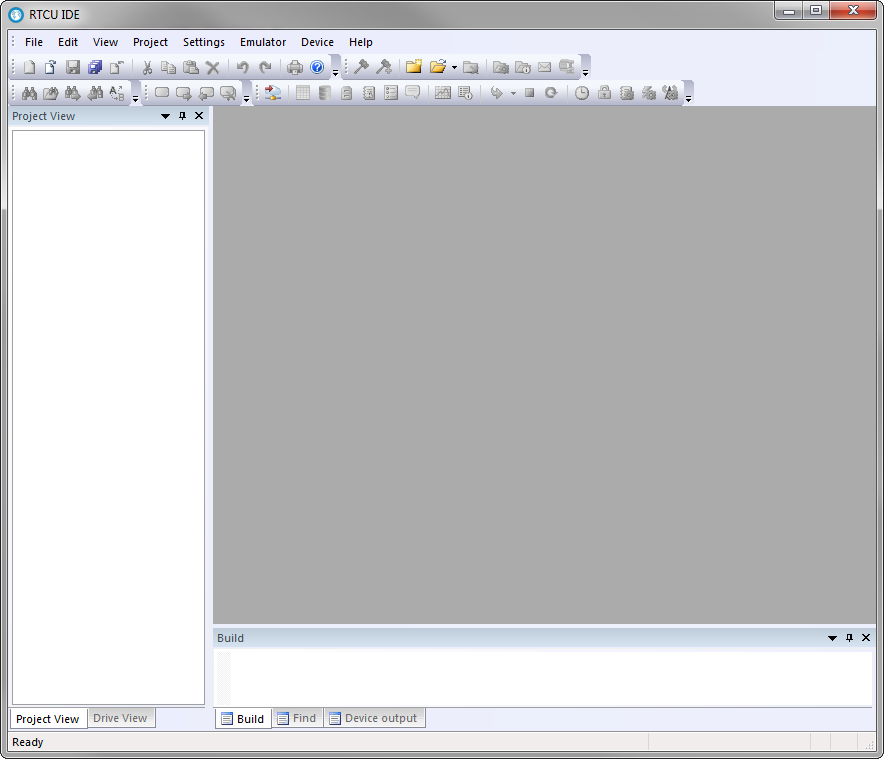
This is the RTCU IDE environment we will use throughout this tutorial. The RTCU IDE has a lot of features and functions, and some of these will be used in this tutorial, whereas some will not be needed. You will always be able to seek help in the online help system. At the end of this tutorial, you will be well-prepared to experiment and learn more about all the many features of the RTCU IDE environment.
So, the RTCU IDE program is now running. We start by creating a new project. The project encapsulates all the different components of an application - namely program code, voice messages, configuration etc.
Click on the "New Project" icon on the Project toolbar to create a new project:

You will then see a dialog asking you the name of your new project. It is generally a good idea to create a new directory on your hard disk for each new project, and then keep all the files related to the project in this directory. In the following example, we create a directory named "Tutorial" (by clicking on the "New Directory" icon in the dialogue), select it by double-clicking on the name "Tutorial". We name the new project "Greenhouse-1". You should see something very similar to this:
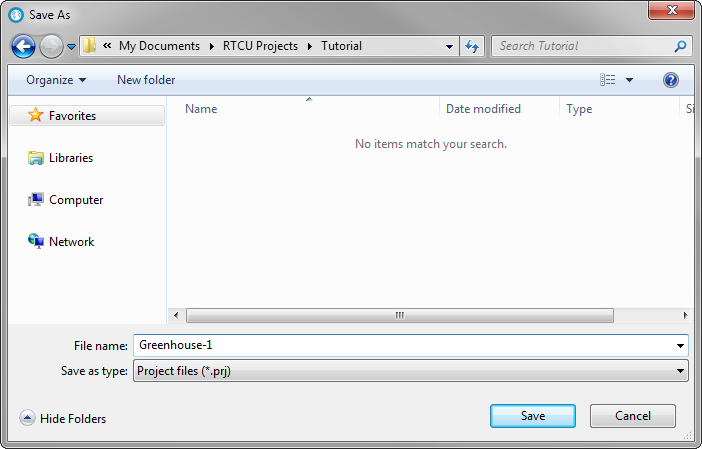
Press the "Save" button, and the RTCU IDE project tree should look like this:
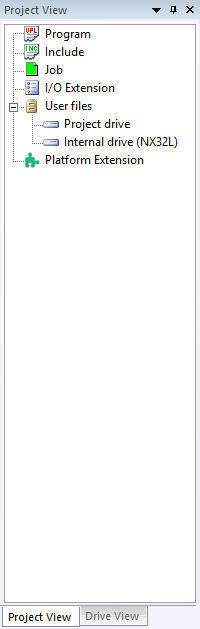
It tells you which Program files, Job files, and Voice messages the project currently consists of. In our case, the project is pretty much empty, because we have yet to add any program code etc. to it. That is next!
Chapter 3 Create the program file